 Pin
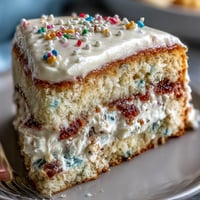
Pin My neighbor Maria showed up at my door one afternoon with a container of homemade guava jam, and I had no idea what to do with it. I'd never worked with guava before, but something about that bright pink jam made me want to build something around it. These thumbprint cookies became my answer, and now whenever I make them, I'm transported back to that kitchen experiment where I discovered how perfectly sweet-tart guava plays against buttery, tender dough.
I made a triple batch for my daughter's school bake sale, and watching the other parents' faces light up when they bit into one felt like pure victory. Someone actually asked for the recipe right there in the gymnasium, which never happens to me, so I knew I'd stumbled onto something special.
Ingredients
- All-purpose flour (2 cups): The foundation of everything, and measuring by weight instead of volume saved me from dense, disappointing batches countless times.
- Unsalted butter (1/2 cup): Softening it properly is the secret to dough that rolls beautifully and bakes into those tender, melt-in-your-mouth cookies.
- Granulated sugar (1/2 cup): This sweetness needs to compete with the guava jam, so don't even think about cutting back.
- Large egg (1): Room temperature is non-negotiable if you want the dough to come together smoothly.
- Vanilla extract (1 teaspoon): A small amount that amplifies the buttery flavor and makes the whole thing feel more sophisticated.
- Salt (1/4 teaspoon): This tiny pinch wakes up every other flavor and prevents the cookies from tasting one-dimensional.
- Guava jam (1/2 cup): The star of the show, and the quality of your jam directly affects how memorable these cookies become.
Tired of Takeout? 🥡
Get 10 meals you can make faster than delivery arrives. Seriously.
One email. No spam. Unsubscribe anytime.
Instructions
- Get Your Oven Ready:
- Preheat to 350°F and line your baking sheets with parchment paper, which keeps the cookies from sticking and makes cleanup almost effortless.
- Mix the Dry Team:
- Whisk flour and salt together in a medium bowl, then set it aside so you're ready to fold it in without any lumps hiding in your dough.
- Cream the Butter and Sugar:
- Beat them together for 2-3 minutes until the mixture looks pale and fluffy, like you've whipped air into every molecule. This is where the magic of tender cookies begins.
- Add the Egg and Vanilla:
- Beat in the egg and vanilla until everything is combined, watching the dough transform into something cohesive and smooth.
- Bring It Together:
- Gradually add your flour mixture to the wet ingredients, mixing gently until a soft dough forms without any streaks of flour visible.
- Shape Your Cookies:
- Scoop tablespoon-sized balls and roll them between your palms until they're smooth, then place them 2 inches apart on your prepared sheets. Your hands will get a little warm and sticky, but that's how you know the dough is perfect.
- Create the Wells:
- Use your thumb or the back of a teaspoon to press a gentle indent into each dough ball, being careful not to push all the way through to the bottom.
- Fill with Purpose:
- Spoon about 1/2 teaspoon of guava jam into each indent, watching the color transform each cookie into something beautiful.
- Bake Until Golden:
- Bake for 13-15 minutes until the edges turn a light golden brown, which means the cookies are set but still tender inside.
- Cool with Patience:
- Let them rest on the baking sheet for 5 minutes to firm up slightly, then transfer to a wire rack to cool completely so they don't fall apart.
 Pin
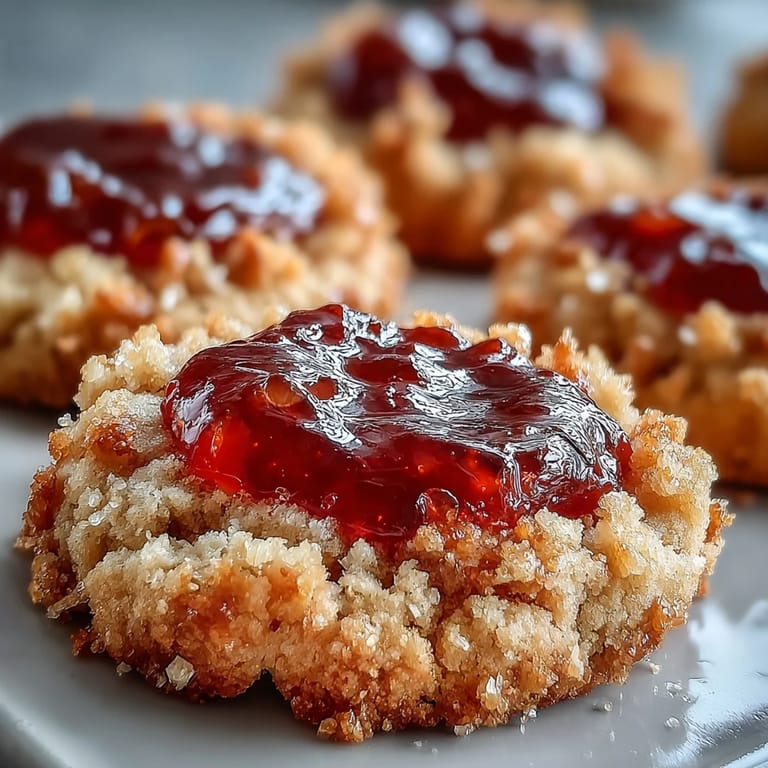
Pin My son ate three of these still-warm from the cooling rack and declared them better than anything from the bakery, which made me realize these cookies had become more than just a treat. They were proof that sometimes the simplest recipes create the most meaningful memories.
The Guava Advantage
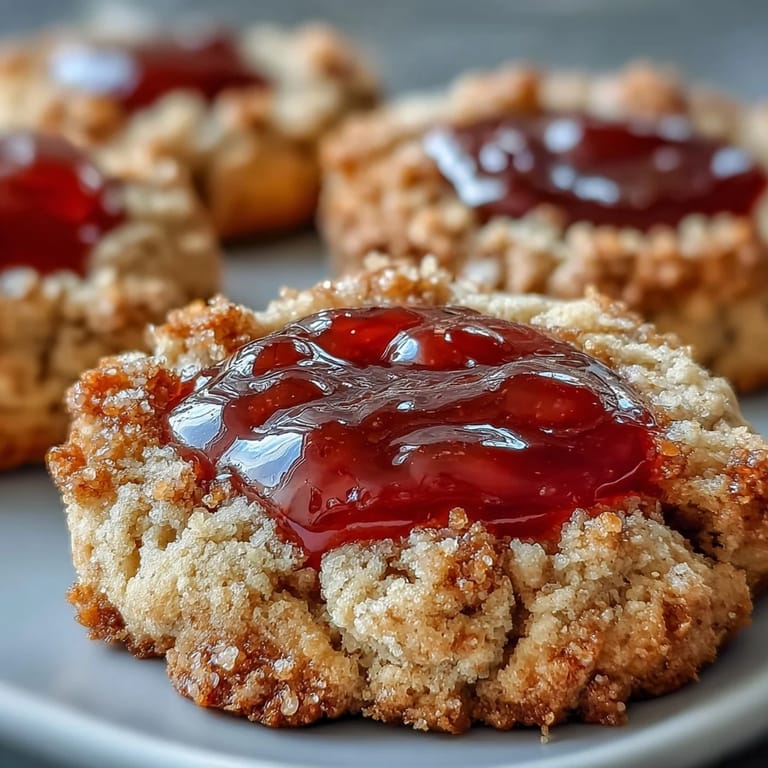
Guava jam brings this tropical brightness that regular jam can't compete with, and the tartness cuts through the butter in a way that makes you want another cookie immediately. I've tried raspberry and apricot as substitutes when I ran out of guava, and while they're delicious, they don't have that same personality that makes you close your eyes after the first bite.
Customizing Your Batch
The beauty of thumbprint cookies is how easily you can adapt them to match your mood or what's in your pantry. I've experimented with different jams, added a sprinkle of shredded coconut before baking for a tropical twist, and even pressed a tiny piece of candied ginger into the center for complexity.
Storage and Keeping Them Fresh
These cookies keep beautifully in an airtight container at room temperature, and I've found that they actually taste better on day two or three when all the flavors have had time to settle. They're sturdy enough to pack in lunch boxes or ship to someone you love, which makes them perfect for more than just your own kitchen.
- Store them in a container with parchment between layers so the jam doesn't stick to other cookies.
- If they start to soften in humid weather, a day in a cool, dry spot brings back their tender texture.
- These freeze beautifully for up to a month, so you can make a big batch when you have time and pull them out whenever you need instant comfort food.
 Pin
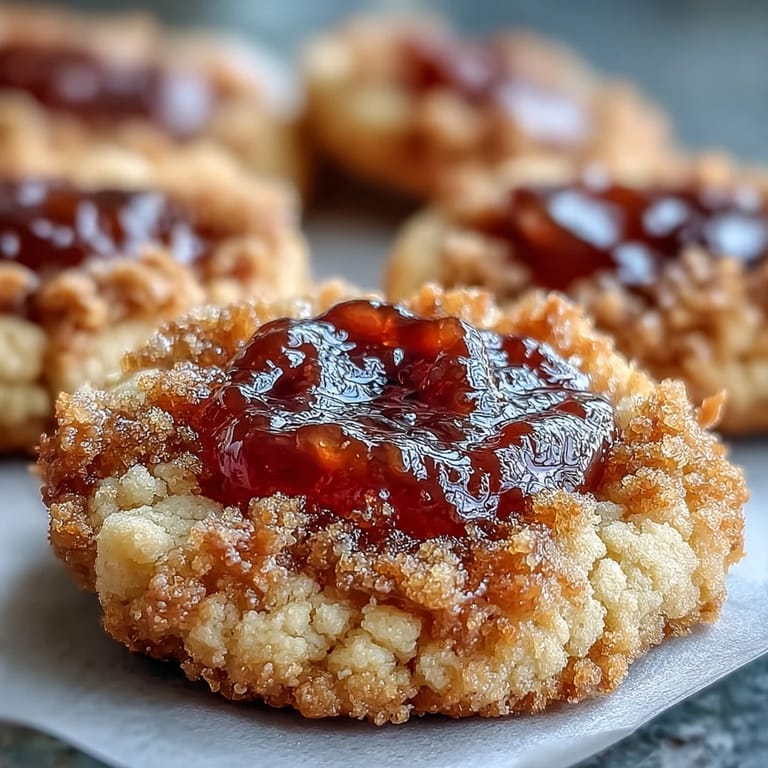
Pin These little cookies have a way of becoming a signature thing, the treat people ask for by name. Once you make them, you'll understand why I keep a jar of guava jam in my pantry at all times.
Recipe Questions
- → Can I use other fruit jams besides guava?
Absolutely. Raspberry, apricot, strawberry, or pineapple preserves work beautifully. The buttery cookie base complements both tart and sweet fruit fillings.
- → Why did my thumbprints lose their shape while baking?
The dough might have been too warm. Chill the shaped dough for 15 minutes before baking to help maintain the indentations. Also avoid pressing too deeply when creating the centers.
- → How should I store these cookies?
Keep in an airtight container at room temperature for up to 5 days. Place parchment paper between layers to prevent sticking. The jam centers will stay fresh and the cookies remain tender.
- → Can I freeze the dough or baked cookies?
Yes, freeze shaped dough balls on a baking sheet, then transfer to a freezer bag for up to 3 months. Bake from frozen, adding 2-3 minutes. Baked cookies also freeze well for up to 2 months.
- → How do I prevent the jam from bubbling over?
Fill the centers gently, leaving a small rim around the edge. Don't overfill—about 1/2 teaspoon per cookie is ideal. The jam will spread slightly during baking.
- → Can I make these dairy-free?
Substitute the butter with vegan butter sticks or coconut oil. The texture will remain similar, though coconut oil may create a slightly crispier cookie.