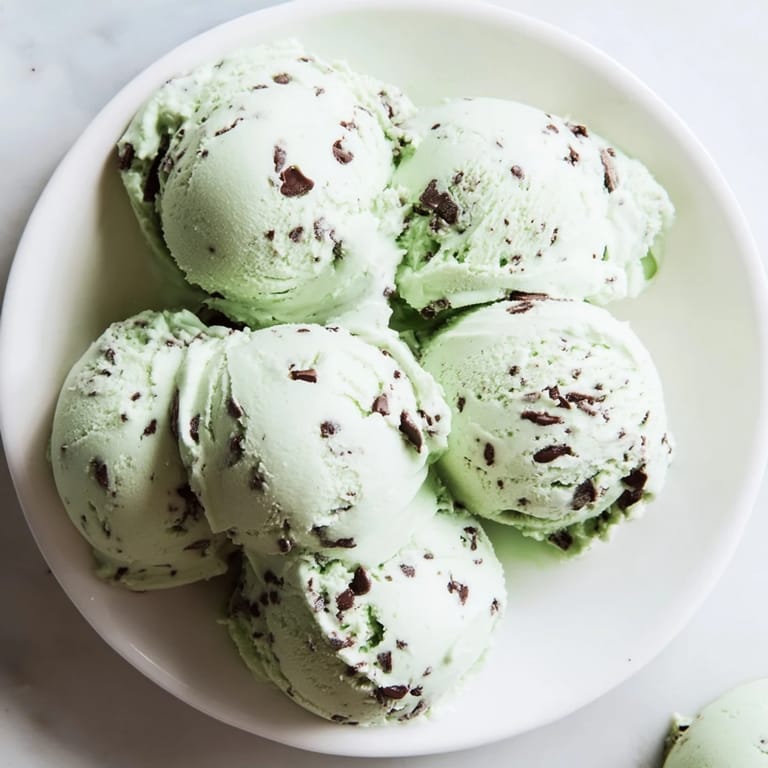
 Pin
Pin One August afternoon, I opened the freezer looking for relief and found nothing but ice trays and frozen peas. That's when I decided to finally use the ice cream maker gathering dust in my cabinet. I grabbed peppermint extract from the spice drawer, cream from the fridge, and a bag of chocolate chips, and by evening I had something better than anything I could've bought at the store. The house smelled like a candy shop, and my kids thought I'd performed magic. Now every summer, this minty treat is our answer to the heat.
I made this for a backyard barbecue once, and people kept coming back for seconds even after the burgers were gone. Someone asked if I'd bought it from a fancy creamery downtown. I just smiled and said I'd tell them the secret if they helped with dishes. That night, three friends ordered ice cream makers online.
Ingredients
- Heavy cream and whole milk: The duo that creates that silky, luxurious texture you can't get from low-fat substitutes.
- Granulated sugar: Sweetens and helps keep the ice cream soft, but don't add more or it won't freeze properly.
- Egg yolks: The backbone of a custard base, they give body and richness without any eggy taste if you temper them gently.
- Peppermint extract: A little goes a long way, start with the recipe amount and taste before adding more.
- Vanilla extract: Balances the mint and adds warmth, never skip it.
- Green food coloring: Totally optional, I usually leave it out and love the creamy white with dark chocolate flecks.
- Semisweet chocolate chips: Mini chips distribute better, but chopped chocolate gives you those satisfying chunky bites.
Tired of Takeout? 🥡
Get 10 meals you can make faster than delivery arrives. Seriously.
One email. No spam. Unsubscribe anytime.
Instructions
- Heat the Dairy Base:
- Combine cream, milk, and half the sugar in a saucepan over medium heat, stirring until steam rises and the sugar dissolves. Don't let it boil or you'll have a mess to clean.
- Whisk the Yolks:
- In a bowl, whisk yolks with remaining sugar until they turn pale yellow and ribbony. This step makes all the difference for a smooth custard.
- Temper the Eggs:
- Slowly drizzle about a cup of hot cream into the yolks while whisking constantly to warm them gently. Rushing here means scrambled eggs, and nobody wants that.
- Cook the Custard:
- Pour everything back into the pan and cook on low, stirring nonstop with a wooden spoon until it thickens enough to coat the spoon. A thermometer reading between 170 and 175 degrees F is your friend here.
- Add the Flavor:
- Off the heat, stir in peppermint, vanilla, and a couple drops of green coloring if you like. The smell at this stage is intoxicating.
- Strain and Chill:
- Pour through a fine sieve into a clean bowl to catch any cooked bits, then cool and refrigerate at least three hours. Patience now means perfect ice cream later.
- Churn and Add Chocolate:
- Pour the chilled custard into your ice cream maker and let it work its magic, adding chocolate chips in the last few minutes. Listen for the motor to slow down, that's when it's ready.
- Freeze Until Firm:
- Transfer to a container and freeze for two to four hours until scoopable. Soft-serve lovers can dig in sooner, but I like mine firm enough to hold its shape in a cone.
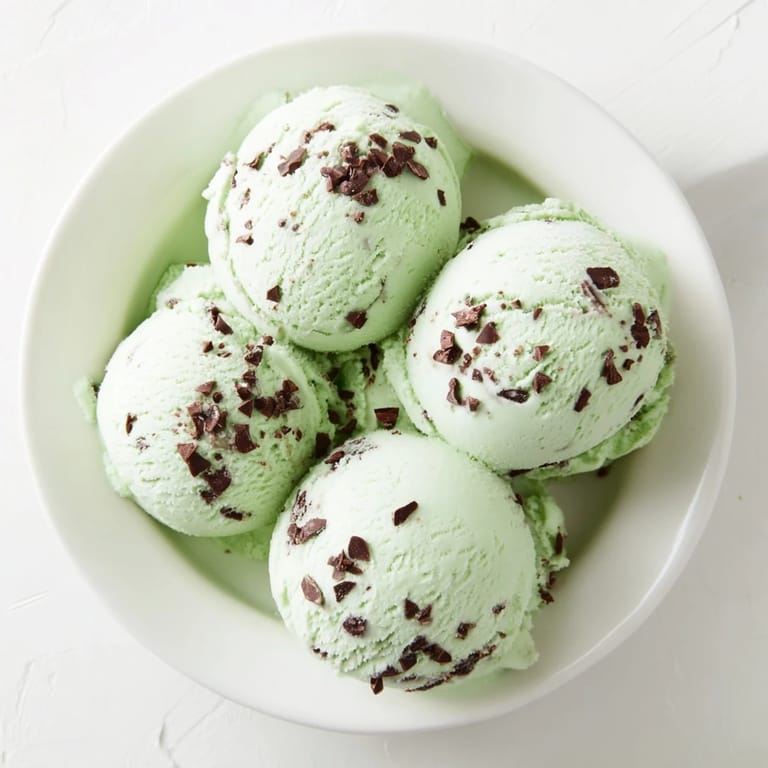 Pin
Pin The first time I served this at a family dinner, my aunt who never eats dessert had two bowls and asked for the recipe on a napkin. She told me later she hadn't tasted mint chip this good since she was a kid visiting the boardwalk with her grandmother. That's when I realized this wasn't just ice cream, it was a little time machine in a freezer container.
How to Know When Your Custard Is Ready
The spoon test is old-school but foolproof. Dip your wooden spoon in the custard, run your finger across the back, and if the line holds without the custard running back together, you're done. A thermometer takes the guesswork out, but I've made this enough times now that I can feel the texture shift in the way the spoon moves through the pot. Trust your senses, they'll tell you when it's time to pull it off the heat.
Fresh Mint vs Extract
I tried steeping fresh mint leaves once after reading about it in an old cookbook, and the flavor was gentler, more herbal, almost grassy in a good way. You lose the bright punch of extract, but you gain something subtle and sophisticated. If you go that route, use a big handful of leaves, steep them in the warm dairy for fifteen minutes, then strain before making the custard. I keep both methods in rotation depending on my mood and whether I have mint growing in the backyard.
Storing and Serving Tips
Homemade ice cream doesn't have the stabilizers that store-bought does, so it can get icy after a week in the freezer. Press plastic wrap directly onto the surface before sealing the lid to minimize ice crystals. Let it sit on the counter for five minutes before scooping if it's rock solid, your wrist will thank you.
- Serve in chilled bowls to keep it from melting too fast on hot days.
- Drizzle with chocolate sauce or top with whipped cream for an over-the-top sundae.
- Layer it between chocolate wafer cookies and freeze for the easiest ice cream sandwiches ever.
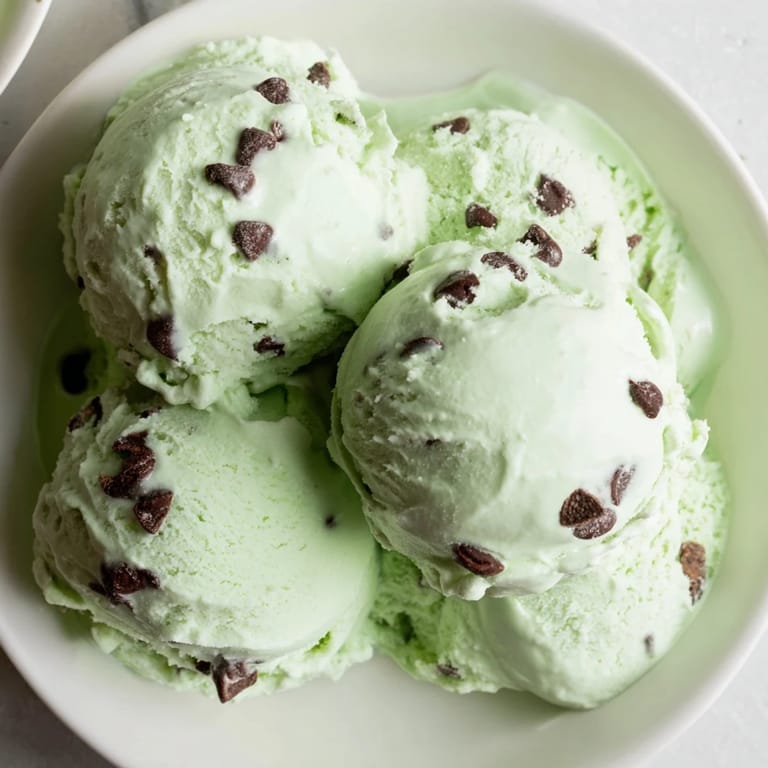 Pin
Pin Every scoop of this reminds me why I started making ice cream in the first place, because nothing compares to pulling something this delicious out of your own freezer. I hope it brings you as much joy as it's brought my kitchen.
Recipe Questions
- → How do I get a stronger mint flavor?
Steeping fresh mint leaves in the milk and cream mixture before cooking intensifies the mint essence without overpowering the creamy base.
- → Can I use dairy-free alternatives?
Substitute coconut milk and coconut cream for traditional dairy to keep the creamy texture while making it dairy-free.
- → When should chocolate chips be added?
In the final minutes of churning, add the chocolate chips so they are evenly distributed without melting.
- → What is the purpose of tempering the eggs?
Tempering eggs by slowly adding hot cream mixture prevents curdling and ensures a smooth custard base.
- → How long should the base be chilled before churning?
Chill the custard base thoroughly for at least 3 hours or overnight to ensure proper texture during churning.